RFIC dynamic link setup: Difference between revisions
No edit summary |
No edit summary |
||
| Line 20: | Line 20: | ||
virtuoso & | virtuoso & | ||
</pre></code></blockquote> | </pre></code></blockquote> | ||
The above script works for the Linux server configurations dated 01/29/2013. If you system is configured differently, you will need to make the necessary changes. | The above script works for the Linux server configurations dated 01/29/2013. If you system is configured differently, you will need to make the necessary changes mainly the paths and the directory names that are usually the name of the version of ADS you are using. | ||
*Add the following line to the .cdsinit file in the Cadence design directory: | *Add the following line to the .cdsinit file in the Cadence design directory: | ||
<blockquote><code><pre> | <blockquote><code><pre> | ||
Latest revision as of 23:17, 5 June 2013
- Creat a virutoso with RFIC dynamic link start-up script, naming dylink (you may name it as you wish), and put it under <home directory>/bin
#!/bin/bash
###########################################
#setup the ADS RFIC dynamic link with Cadence Virtuoso
###########################################

###ADS2011 environment#####################
export HPEESOF_DIR=/usr/local/ADS2011_01
#export HPEESOF_DIR=/usr/local/ADS2009
export LM_LICENSE_FILE=/usr/local/ADS2011_01/licenses/license.lic
export PATH=$PATH:$HPEESOF_DIR/bin
export AGILEESOFD_LICENSE_FILE=/usr/local/ADS2011_01/licenses
export ADS_LICENSE_FILE=27007@io.ece.iastate.edu
export IDF_CDS_VERSION="6.1.5"
source $HPEESOF_DIR/bin/setCSF.ksh
# setCSF.ksh will overwrite CDS_LOAD_ENV, the setup in $IC is CWDElseHome
# add the following line without # in .cdsinit file under the working directory
# load strcat(getShellEnvVar("HPEESOF_DIR") "/idf/config/.cdsinit")
virtuoso &
The above script works for the Linux server configurations dated 01/29/2013. If you system is configured differently, you will need to make the necessary changes mainly the paths and the directory names that are usually the name of the version of ADS you are using.
- Add the following line to the .cdsinit file in the Cadence design directory:
load strcat(getShellEnvVar("HPEESOF_DIR") "/idf/config/.cdsinit")
- Check .bashrc file under your Cadence design directory if there is this sentence:
export PATH=$PATH:~/bin
If not, add it into .bashrc file.
- Type dylink in your Cadence design directory to start Cadence
Example of Cadence ADS Simulation Using Dynamic Link
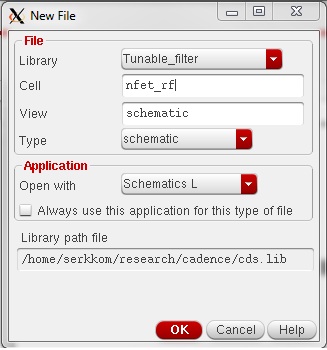
After Cadence opens from the previous step, create a new cell view named nfet_rf (This can be anything or any name of your choice)

- In the schematic window, place an instance of nfet_rf (for the purpose of this tutorial, we are using W=2m, L=120n and 32 fingers)
- Add INOUT pins to the Drain, Gate and Source and name them D,G,S respectively. The Bulk is just connected to the Source. It can also be separated.
- In order to use this schematic in ADS, we need to create a symbol for it.
To create the symbol, go to Create --> Cellview --> From Pin List in your schematic window. A new window with a default symbol will open. You can modify it as you like. For the purpose of this tutorial we will just use the symbol as it is. Here is how it your schematic and symbol should look:

- The next step is to link with ADS
Save both your schematic and symbol then go to Launch --> ADS Dynamic Link in your schematic windows.

- ADS windows will open and you have a choice to create an new workspace of using an existing or recent project. In this tutorial we will use and existing workspace:PA_Design_Tutorial_wrk

- Now we need to create a schematic where we can use the cadence instance of the nfet_rf or we can also use an existing schematic.
Note that at this point ADS and cadence are working together. There is no need to relaunch dynanmic link if all we need is a schematic change. ( We will show you how to do it later)
In ADS main window open an existing schematic or create a new schematic. We will create a new schematic call nfet_rf_characterization (File --> New --> Schematic)

- Place an instance of nfet_rf in ADS: DynamicLink -->Instance --> Add Instance of Cellview
Cadence instance dialog box will open. Browse to you nfet_rf or you design you want to simulate in ADS. Click Ok and you will see the symbol of the nfet_rf you previously created in Cadence.


- Before we can simulate in ADS, there is on more thing we need: The Model Card (What netlist ADS will use to simulate the cadence instance)
Go to DynamicLink --> Add Netlist File Include and place it on the schematic.
Double click on it and add the library path and the model files. For the Ibmcmrf,use the following
IncludePath= /remote/neihart/ibm8rfcmos/IBM_PDK/cmrf8sf/relDM/Spectre/models
IncludeFiles[1]=allModels.scs
 and Section = tt
IncludeFiles[2]=design.scs

- Now you are ready to simulate your nfet_rf in ADS.
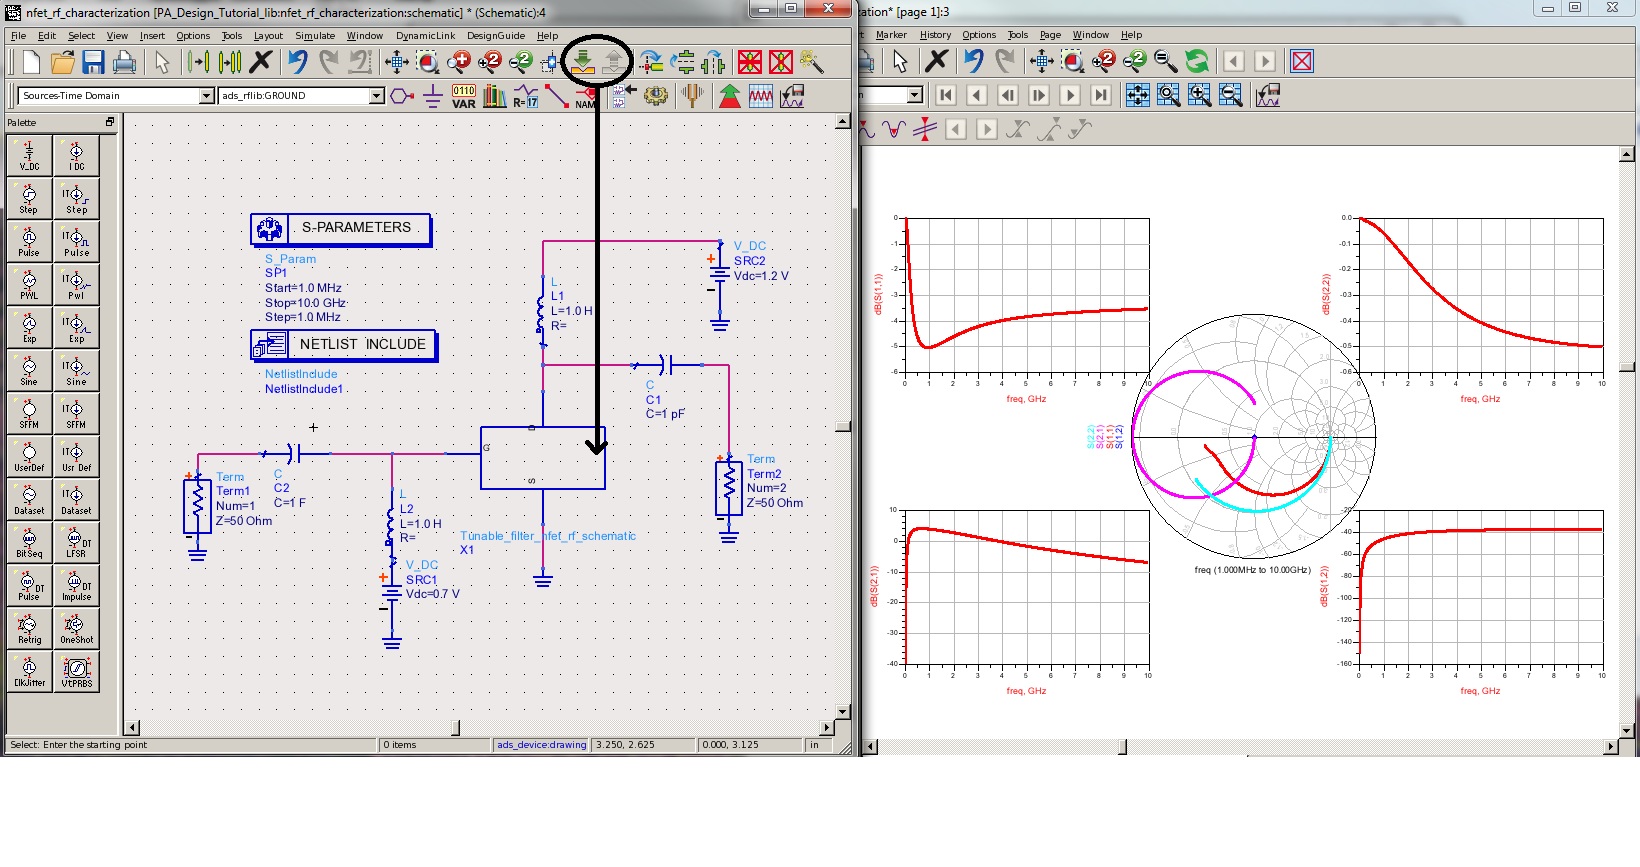
Place an sparameter simulator and ports, biasing and dc block cap and choke as follow and run the simulation. For a W=2m, L=120n and 32 fingers nfet_rf sparameters is as follow. Note that the schemtic can dynamically be edited in ADS by simply using the Push Into Hierarchy button. Also any other instance in the section of cadence where dynamic link was launched from can be accessed meaning you don't need to relaunch everytime you need another component. Follow the same instruction above to add an instance in ADS.
